services

Installation Overview-ThermalWall
See how easy it is to install the Legalett ThermalWall PH Panel system for Passive House or Net Zero Energy Building (NZEB) wall insulation. In one simple and cost effective operation the wall insulation performance of practically any building, be that new build or renovation, is boosted to R-52 or more...
Installation Guide for Legalett's ThermalWall PH Wall Insulation Panels for Passive House and Net Zero Energy Building Construction
The following photographs provide a pictorial description of the installation of ThermalWall PH Wall Insulation for a Passive House designed commercial building project.
Steps for Installing ThermalWall PH Super Insulating Wall Panels
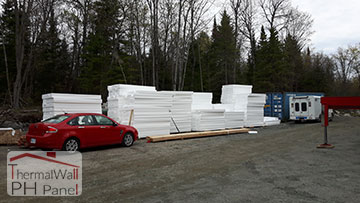 1. ThermalWall PH Panels delivered to site and ready for install
 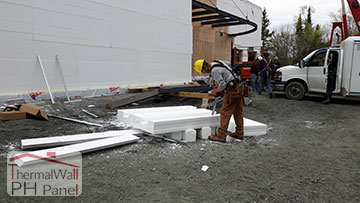 2. Panels are easily cut with a chainsaw
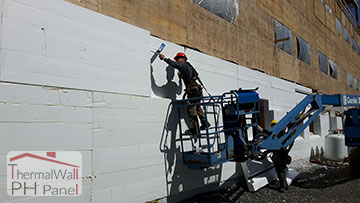 3. Apply spray foam to the vertical & horizontal T & G joints where the ThermalWall PH panel is to be installed
 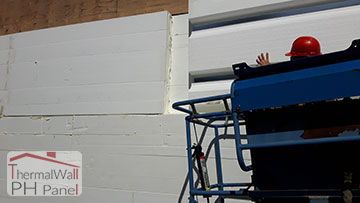 4. Place the ThermalWall PH Panel in position
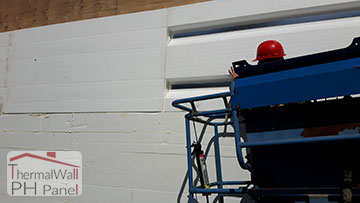 5. Set the ThermalWall PH Panel into the foam adhesive
 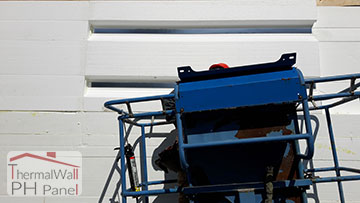 6. ThermalWall PH Panel is now ready for screws
 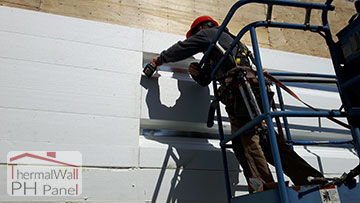 7. Screw the 4 corners first, to position the ThermalWall PH panel
 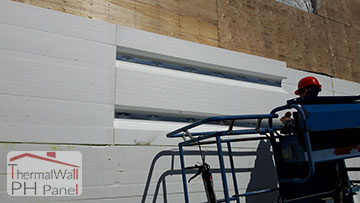 8. Install the rest of the screws
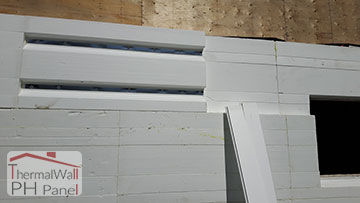 9. ThermalWall PH Panel is installed and ready for snap tracks
 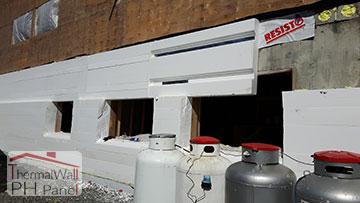 10. Studs removed for cutting around windows
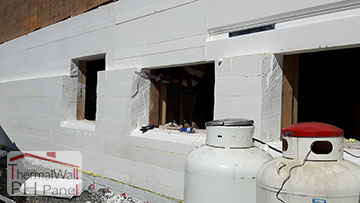 11. Trim openings easily with a chain saw
 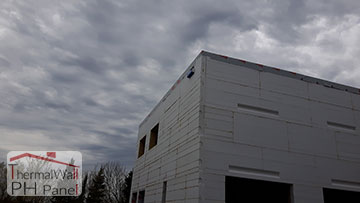 12. This image illustrates the corner placement of ThermalWall PH panels
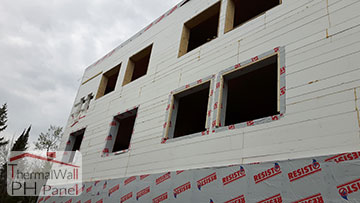 13. This image illustrates the installation of window flashing and build outs
 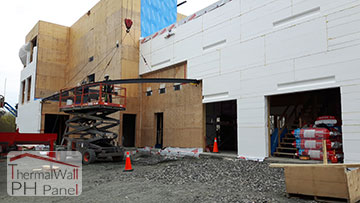 14. This image displays the Installation of an entry frame for a canopy
Download the Installation Overview PDF
Watch the Installation Overview for ThermalWall PH Super Insulating Wall Panels
Watch ThermalWall PH Super Insulating Wall Panels Installed on a Commercial Passive House Project in Ontario
- Find Out More Here:
- ThermalWall PH Panel Wall Insulation for Passive House, LEED and Net Zero Energy Designs
- GEO-Passive Super Insulated Foundation System for Passive House, LEED and Net Zero Energy ZNE Buildings
- Installation Overview of Legalett's Frost Protected Shallow Foundations & Air-Heated Radiant Floors
- Benefits of the Legalett ICF GEO-Slab Insulated Foundation System
- GEO-Slab Insulation for Floor Slabs and Foundations Construction
- GEO-Basement Insulated Basement Slab and Foundation Forms
- GEO-Pad Slab Forms for Detached Garages and Outbuildings
- Air Heated, In-Floor Radiant Heating
Copyright © Legalett Canada Inc. Ontario Canada 2014–
